Crafting a Monarch Butterfly Stained Glass Pattern Step-by-Step
Creating a stunning monarch butterfly stained glass pattern involves selecting vibrant, high-quality glass to mimic the butterfly's iconic orange and black wings. Precise tools such as glass cutters and running pliers are required to achieve clean cuts, while safety measures like protective eyewear are essential.
Detailed sketches and templates guide the intricate design, ensuring accurate alignment and fit. Soldering techniques with high silver content solder secure the pieces and enhance durability.
Final touches, including cleaning and applying patina, bring out the glass's natural beauty. To master every step of the process from material selection to display, discover further intricacies.
Key Takeaways
- High-Resolution Images: Use detailed, high-resolution images of monarch butterflies for accurate pattern replication.
- Detailed Sketches: Create precise sketches of the butterfly's shapes and colors for effective pattern development.
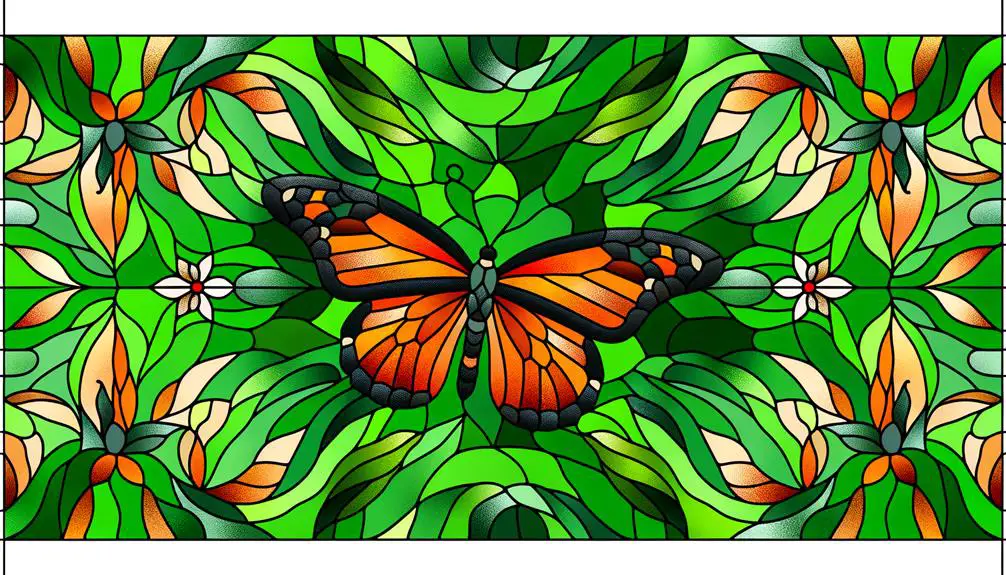
- Color Harmony: Select vibrant, high-quality glass with varying shades of orange and black to mimic the monarch's wings.
- Template Use: Transfer sketches to a template to ensure accuracy and maintain fidelity during assembly.
Choosing the Right Materials
Selecting the appropriate materials for a monarch butterfly stained glass pattern is essential to guaranteeing both the aesthetic appeal and structural integrity of the finished piece.
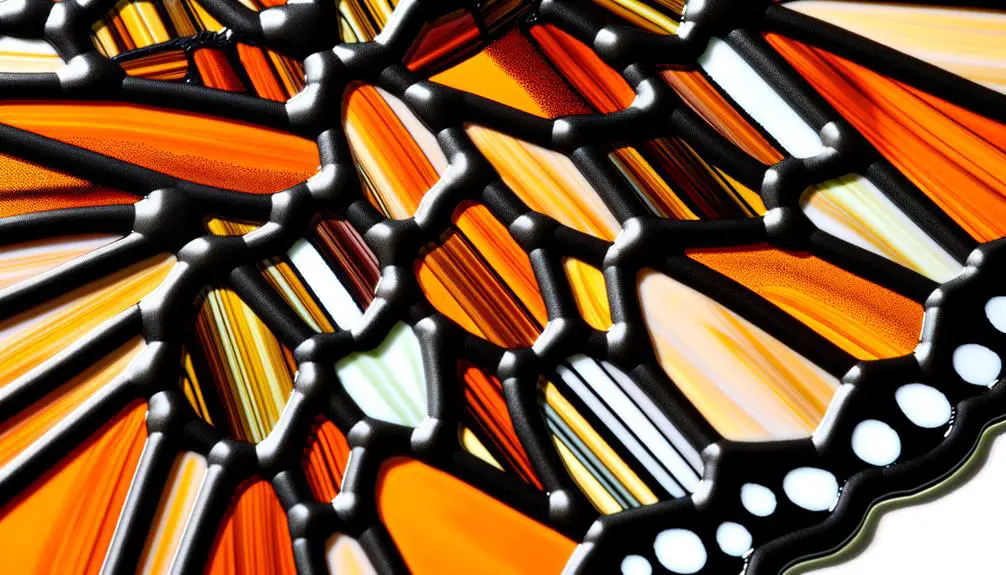
Opt for high-quality glass with vibrant, true-to-life colors to mimic the monarch's striking orange and black wings. Iridescent and opalescent glass can add depth and shimmer, enhancing the visual allure.
Lead came or copper foil serves as the framework, offering flexibility and strength. Solder with a higher silver content provides superior adhesive properties and longevity.
Additionally, choosing a stable and durable work surface guarantees precision during assembly. Glass cutters, grinders, and proper safety gear are indispensable tools that facilitate meticulous craftsmanship.
Each material choice is a step toward creating a masterpiece that embodies freedom and beauty.
Designing Your Pattern
Creating a monarch butterfly stained glass pattern begins with a detailed sketch that captures the intricate interplay of shapes and colors characteristic of this iconic insect.
Start by observing high-resolution images of monarch butterflies to accurately translate their symmetrical wing patterns and delicate veins into your design. Use fine-tipped pencils and graph paper to meticulously draw the outline and internal segments.
Make certain the pattern includes distinct sections for the head, thorax, and abdomen, as well as the wings' unique spots and lines. Precision in these initial steps is essential, as it will guide the cutting and assembly process.
Once the sketch is complete, transfer it to a template, marking each piece with a number and an orientation to maintain fidelity during construction.
Selecting Glass Colors
Choosing the right glass colors for your Monarch butterfly stained glass pattern involves bold color selections, considering the texture of the glass, and effectively harmonizing shades.
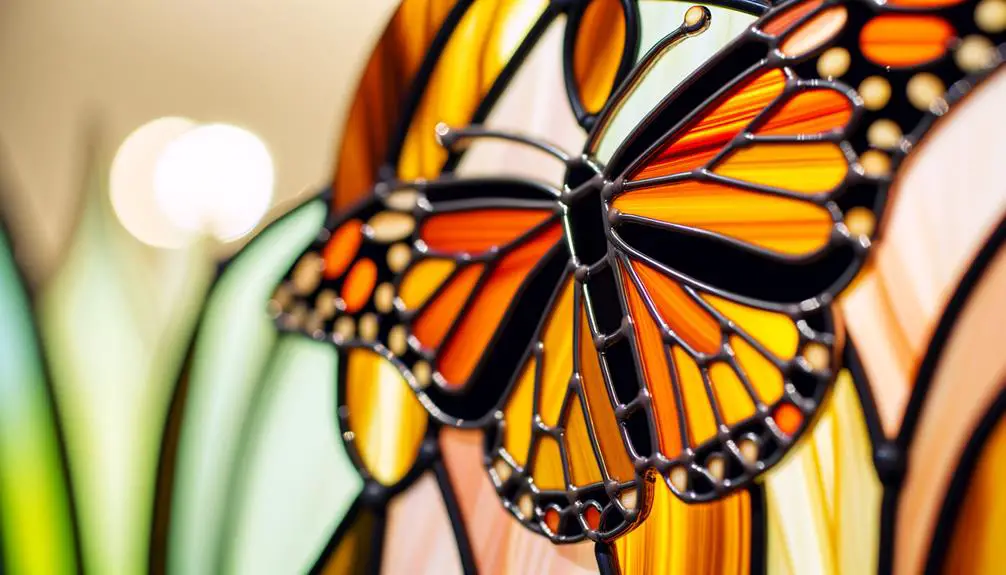
The brilliance of the butterfly's iconic orange and black can be accentuated by selecting vibrant, high-contrast hues, while the texture of the glass adds depth and dimension to the piece.
Bold Color Choices
When designing a Monarch butterfly stained glass pattern, it is crucial to meticulously consider the interplay of vibrant hues to capture the insect's natural splendor and intricate details.
Opting for bold, saturated colors can evoke the striking contrast of the Monarch's wings. Deep oranges, intense blacks, and subtle whites must be carefully selected to reflect the butterfly's vivid coloration accurately.
Consider using various shades of orange to replicate the gradient seen on the wings, and sharp, opaque blacks to delineate the veins and edges.
The choice of glass color should not only aim for visual impact but also guarantee harmony and balance within the artwork, thereby preserving the Monarch's majestic essence while offering an aesthetic freedom to the observer.
Glass Texture Importance
Beyond the selection of bold, saturated colors, the texture of the glass plays a pivotal role in bringing the Monarch butterfly stained glass pattern to life.
Textured glass not only adds depth but also interacts with light in ways that create dynamic visual effects. For instance, rippled glass can mimic the delicate veining of butterfly wings, while hammered textures may offer a sense of movement.
The choice of opalescent glass enhances the vibrant hues, providing a luminous quality that shifts with changing light conditions. Each texture serves a specific purpose, whether to diffuse or concentrate light, adding to the illusion of a living, breathing Monarch.
Consequently, careful consideration of texture is essential in achieving a realistic and enthralling final piece.
Harmonizing Shades Effectively
Achieving a harmonious blend of shades in a Monarch butterfly stained glass pattern requires a nuanced understanding of color theory and the strategic placement of hues. Selecting the right glass colors involves considering the natural palette of the Monarch butterfly, which ranges from vibrant oranges to deep blacks and subtle whites. The following table outlines key color choices and their effects:
| Glass Color | Effect on Design |
|---|---|
| Orange | Emphasizes vibrancy |
| Black | Defines intricate details |
| White | Adds highlight and depth |
Utilizing complementary colors enhances visual appeal, while varying opacities can add depth and texture. The interplay of light through these carefully chosen shades results in a dynamic, lifelike representation of the Monarch butterfly, capturing its essence and beauty.
Cutting the Glass
In the intricate process of cutting glass for your Monarch Butterfly stained glass pattern, precision tools such as glass cutters and running pliers are indispensable.
Prioritizing safety is essential; always wear protective eyewear and gloves to prevent injuries.
Selecting the appropriate glass types, whether transparent or opaque, will greatly influence the visual impact of your final piece.
Tools for Precision Cutting
To achieve precise cuts in glass for your Monarch butterfly stained glass project, utilizing specialized tools designed for accuracy is vital.
A quality glass cutter with a tungsten carbide or diamond blade offers the finesse necessary for intricate designs. Cutting oil guarantees smooth, even scores.
Running pliers, with adjustable tension, help break the glass along the score line with precision. Grozing pliers are indispensable for refining edges, removing small slivers, and achieving detailed curves.
A glass grinder can further perfect shapes, smoothing out imperfections and guaranteeing pieces fit seamlessly.
These tools empower artists to transform raw glass into exquisite, detailed components of the butterfly, capturing its delicate beauty and intricate patterns with unparalleled accuracy.
Safety Precautions First
Before starting the intricate process of cutting glass for your Monarch butterfly stained glass project, it is imperative to adhere to essential safety precautions to protect yourself and guarantee a smooth workflow.
Begin by wearing safety glasses to shield your eyes from glass shards.
Utilize cut-resistant gloves to safeguard your hands.
Confirm your workspace is well-lit and clutter-free to prevent accidents.
Employ a cutting mat to provide stability and reduce the risk of slipping.
Always score the glass with a steady hand to avoid uneven edges and potential breakage.
Additionally, keep a first aid kit nearby for immediate care of any minor injuries.
Adhering to these precautions will help you achieve precision while maintaining your creative freedom.
Choosing Glass Types
Selecting the appropriate glass types for your Monarch butterfly stained glass project is a critical step that profoundly influences the final visual impact and structural integrity of your piece.
Opt for vibrant, warm tones to capture the Monarch's iconic orange wings, while subtle variations in texture can add depth and realism. Consider using opalescent glass for the wings to enhance light diffusion and iridescent glass for a shimmering effect. For the body, choose darker, opaque glass to provide contrast.
Precision in cutting is essential; use a quality glass cutter and follow the pattern meticulously. Grind edges smoothly to guarantee perfect fitting. Each glass piece must be carefully chosen and shaped to bring your artistic vision to life while guaranteeing durability.
Assembling the Pieces
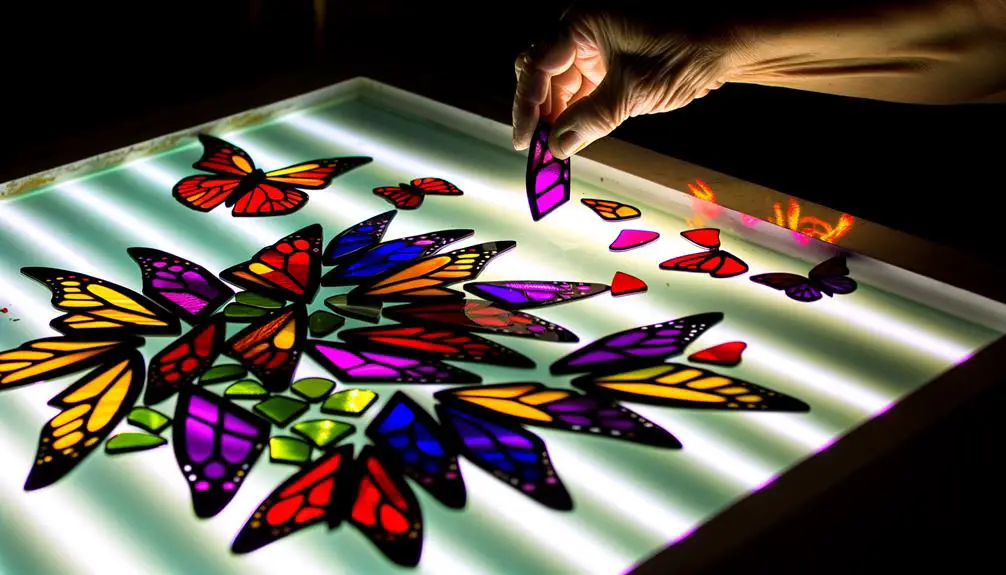
After meticulously cutting and labeling each piece, the next critical step involves arranging the segments on a flat surface to guarantee proper alignment and fit before soldering.
Begin by laying out each piece according to your design template, ensuring that the intricate details of the Monarch butterfly are accurately represented.
Use a lightbox to illuminate the glass pieces from beneath, aiding in precise alignment. Adjust each segment delicately, making sure the edges meet seamlessly, and the color shifts are harmonious.
Employ small, weighted objects or specialized pins to hold the pieces in place.
This careful arrangement is paramount, as any misalignment can compromise the structural integrity and aesthetic appeal of the final stained glass artwork.
Soldering Techniques
Mastering the art of soldering is vital for guaranteeing a durable and visually appealing Monarch butterfly stained glass piece.
Begin by heating your soldering iron to the ideal temperature, around 700°F, for smooth application. Use a 60/40 solder, a balance of tin and lead, to achieve strong, seamless joints.
Flux is imperative; apply it generously to the copper foil to enhance the solder's flow and adhesion. Employ a steady hand, guiding the iron along the seams in a fluid motion to create uniform bead lines.
Finishing Touches
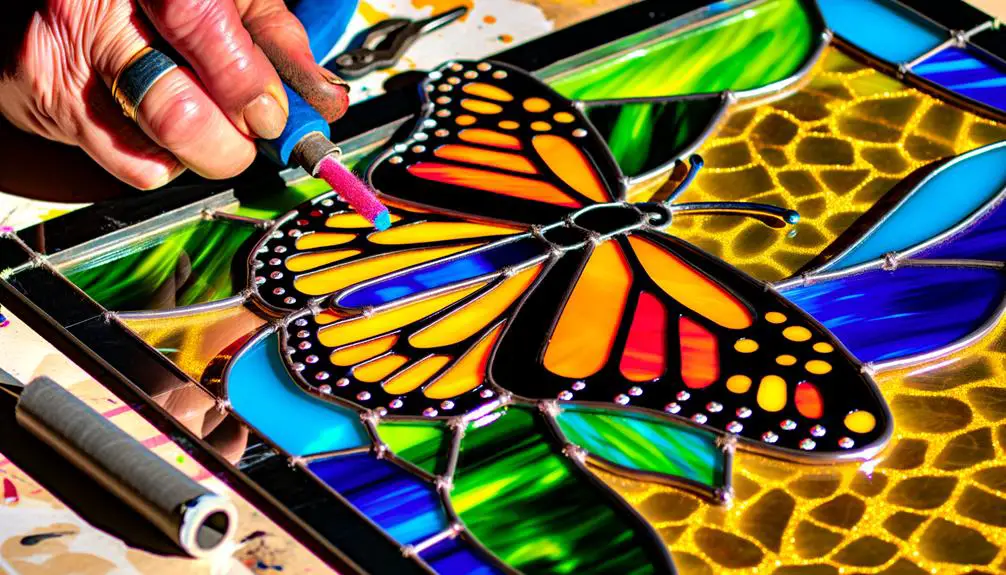
The final steps in completing your Monarch butterfly stained glass masterpiece involve meticulous attention to detail, guaranteeing that each element is polished and presented with artistic precision.
Begin by carefully cleaning the glass surfaces with a non-abrasive cleaner to remove any residual flux and fingerprints.
Next, apply patina to the solder joints for a uniform, polished appearance. Use a fine brush for precision and allow the patina to dry completely.
Once dry, polish the entire piece with a high-quality wax, which will enhance the vibrancy of the colors and protect the glass.
Finally, inspect the leading and solder joints for any imperfections and smooth them out with a fine file.
This guarantees your artwork achieves a professional finish, embodying both beauty and craftsmanship.
Displaying Your Artwork
To showcase your Monarch butterfly stained glass masterpiece effectively, consider the strategic placement of your artwork to maximize natural light and highlight its intricate details. Positioning is essential to enhance the vibrancy and translucency of the glass, emphasizing the delicate patterns and colors.
- Windows: Place your piece in front of a window with ample sunlight to illuminate its beauty.
- Backlighting: Install LED backlighting to guarantee even illumination during evenings.
- Hanging Methods: Use sturdy hooks and chains to securely hang your artwork, allowing it to gently sway and catch light.
- Frames: Frame your stained glass in a wooden or metal frame for added elegance and protection.
Achieving the ideal display will certainly evoke a sense of freedom and admiration.
Conclusion
Careful consideration of materials, meticulous design, and precise glass selection are pivotal in crafting a fascinating monarch butterfly stained glass pattern.
Cutting, assembling, and soldering each segment with skillful precision culminates in an exquisite creation.
Final finishing touches fortify the artwork, enhancing its aesthetic appeal and durability.
Displaying the finished piece with deliberate placement underscores its splendor.
Such scrupulous steps guarantee the successful synthesis of technical prowess and artistic creativity, resulting in a stunning stained glass masterpiece.


