How To Make Butterfly Bandage? Simple DIY Guide!
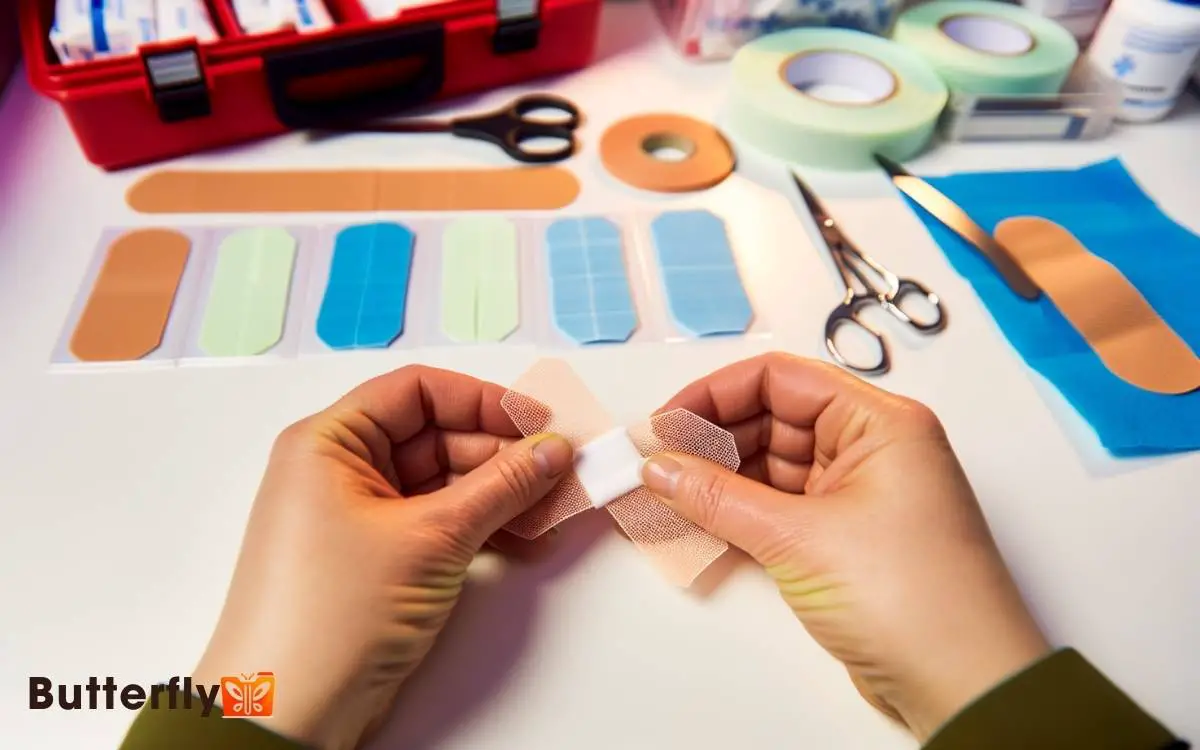
To guarantee a butterfly bandage, first gather hypoallergenic medical tape, sterile scissors, and antiseptic wipes.
Cut the tape into 3-4 inch strips using the sterile scissors. Create a V-shaped notch in the center of each strip. Clean and dry the wound area with antiseptic wipes.
Align the wound edges, peel the backing from one side, and press it onto the skin. Stretch the bandage to pull the wound edges together, then adhere the other side.
Confirm the bandage is secure and check for gaps. Properly aligned wound edges promote effective healing. For more detailed steps, continue exploring.

Key Takeaways
Gather Your Materials
Before you start making butterfly bandages, make sure you have all the necessary materials on hand. You’ll need medical adhesive tape, sterile scissors, and antiseptic wipes. Opt for hypoallergenic tape to reduce skin irritation.
Use sterile scissors to make certain no contamination occurs. Antiseptic wipes are essential for cleaning the wound area before application.
Gathering these materials ensures you’re prepared for an efficient, sterile bandage-making process.
Innovation in wound care often begins with using the right tools. Make certain your medical adhesive tape has strong adhesive properties and is flexible enough for skin movement. Sterile scissors should be sharp for precise cutting.
Antiseptic wipes should contain isopropyl alcohol for effective disinfection. With these materials, you’re ready for the next step.
Cut the Adhesive Strips
Start by cutting the medical adhesive tape into strips approximately 3 to 4 inches long. Guarantee each strip is uniform in length to maintain consistency and effectiveness. Use sharp, sterile scissors to achieve clean edges, which will help the strips adhere better to the skin.
Precision is key; jagged edges can compromise the adhesive’s integrity. By standardizing strip length, you optimize their application, enhancing wound closure efficiency.
Cutting multiple strips at once can save time and ensure you’re prepared. Use a ruler or a cutting mat with measurements for accuracy.
Shape the Bandage
Shaping the bandage involves cutting a small notch in the center of each adhesive strip to create a narrow middle section, allowing the bandage to pull the wound edges together effectively.
Use sharp scissors to make a V-shaped cut precisely in the middle of both adhesive strips. Confirm the notch is symmetrical and not too deep to maintain structural integrity. This specialized shape maximizes the tension across the wound, promoting ideal healing.
Apply to the Wound
To apply the butterfly bandage, first make sure the wound and surrounding skin are clean and dry to maximize adhesion and effectiveness.
Gently align the wound’s edges, ensuring they are closely approximated. Carefully peel the backing from one side of the bandage and press it firmly onto the skin.
Stretch the bandage so it pulls the wound edges together without causing discomfort, then adhere the other side.
| Step | Action | Purpose |
|---|---|---|
| 1 | Clean and dry skin | Maximize adhesion |
| 2 | Align wound edges | Promote proper healing |
| 3 | Peel backing from one side | Prepare for application |
| 4 | Adhere and stretch bandage | Close wound effectively |
This method ensures optimal wound closure and promotes efficient healing.
Secure and Check
Confirm that the butterfly bandage is securely adhered by pressing down on it gently but firmly, checking for any gaps or loose edges. Make sure the adhesive is uniformly applied, as uneven contact can compromise wound closure.
Assess the bandage’s alignment; misalignment may hinder proper healing. Verify that the wound edges are well approximated, promoting excellent skin regeneration.
Next, monitor for any signs of infection: redness, swelling, or unusual discharge. Regularly inspect the bandage, especially during the first 24 hours.
A well-secured butterfly bandage should remain in place without causing discomfort. If it loosens, replace it promptly.
Conclusion
Think of your butterfly bandage as a bridge, connecting and healing the two sides of a divided path. By gathering your materials, cutting the adhesive strips, shaping the bandage, and applying it correctly, you’ve constructed a strong connection over the wound. Just like a well-built bridge supports safe passage, a properly placed butterfly bandage ensures the wound stays protected and mends efficiently. Whether you’re using a store-bought option or attempting a fabric butterfly DIY for a personalized touch, the goal remains the same—secure and stabilize the skin for optimal healing. With patience and care, this small yet powerful tool helps the body restore itself naturally.
This precise process guarantees ideal healing. Regularly check your work; a well-maintained bridge stands the test of time, just as your carefully crafted bandage supports the body’s natural recovery process. Trust in your skills and the evidence-based method you’ve followed.


