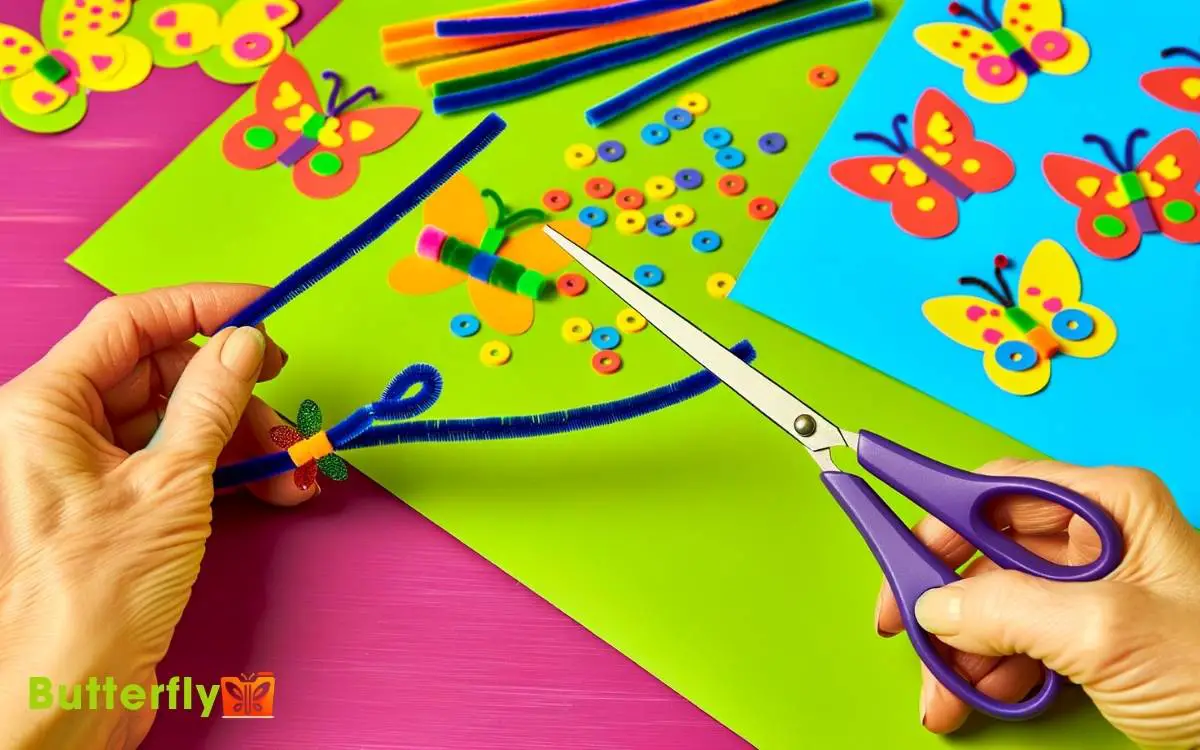
How To Make Butterfly Antenna? Simple DIY Guide!
To make butterfly antenna, start by cutting fine-gauge wire to 4 inches. Use round-nose pliers to shape the wire into a graceful curve, ensuring symmetry and avoiding kinks. Add beads or small glue droplets to the ends for decoration, verifying stability.
Twist the wire tightly to form secure loops, reinforcing with industrial-strength adhesive. Attach the antenna to a headband using hot glue and stitches, ensuring alignment. Customize with various textures and colors, and allow adhesive to cure fully.
Finish with a detailed inspection for structural integrity and aesthetic appeal. Discover the intricate final steps to perfect your butterfly antenna.

Key Takeaways
Gather Your Materials
Before beginning the construction of butterfly antennae, you’ll need to gather specific materials to guarantee accuracy and effectiveness in your project. Start by obtaining fine-gauge wire, preferably 24-26 AWG, which offers flexibility and durability.
You’ll also need a pair of precision wire cutters and needle-nose pliers for manipulating the wire. Additionally, secure a ruler or measuring tape for ensuring uniform lengths.
Have a small amount of black paint or permanent marker ready for coloring the antennae tips. To enhance the realism, consider using tiny beads or small droplets of glue to mimic the clubbed ends.
Ensuring you have all these materials beforehand will streamline your construction process and enhance the fidelity of your butterfly antennae.
Cut the Wire
Using your ruler or measuring tape, cut two pieces of fine-gauge wire to a length of approximately four inches each. Guarantee your cuts are precise to maintain symmetry in your butterfly antenna. Opt for a wire cutter for clean edges, minimizing fraying.
Below is a table summarizing the essential steps and corresponding observations:
| Step | Description | Observations |
|---|---|---|
| 1 | Measure wire | Assure wire is straight and smooth |
| 2 | Cut wire to 4 inches | Use a wire cutter for clean edges |
| 3 | Check for symmetry | Both pieces should be identical |
| 4 | Inspect cut ends | Look for any sharp or frayed edges |
Careful measurement and cutting are foundational for constructing an innovative butterfly antenna. Your precision at this stage will greatly impact the final outcome.
Shape the Antenna
Now that you’ve precisely cut your wire, bend each piece into a gentle curve to mimic the natural shape of butterfly antennae.
Utilize a round-nose plier to achieve a symmetrical arc, ensuring the curvature remains smooth and consistent. Your objective is to replicate the delicate, tapering form seen in real butterfly antennae.
Employ a ruler for accurate measurements, maintaining uniformity between the two pieces. Observe the wire’s malleability, adjusting pressure to avoid kinks or abrupt angles.
This step demands meticulous attention to detail, as the integrity of the curve will influence the overall aesthetic and functionality of your antennae.
Through careful manipulation, you’ll create an elegant, biomimetic structure that mirrors nature’s design.
Add Beads or Decorations
When selecting beads, consider factors such as size, weight, and color to guarantee they complement the antenna design.
Use a strong adhesive or wire to attach these decorations securely, preventing them from shifting during use.
Verify the attachment by gently tugging on each bead to confirm stability.
Choosing Your Beads
Selecting the appropriate beads for your butterfly antenna involves considering factors such as size, color, and material to guarantee maximum visual appeal and structural integrity. Begin by choosing beads that are small and lightweight to avoid compromising the antenna’s balance.
Opt for vibrant colors that contrast or complement the butterfly’s wings, enhancing the overall aesthetic.
Glass beads provide a polished, reflective surface, while acrylic beads offer a lightweight, durable alternative. Examine each bead’s hole size to make sure it fits securely on your chosen wire.
Uniformity in bead size ensures a symmetrical appearance, important for creating a visually striking antenna. Prioritize high-quality materials to enhance longevity and reduce the risk of breakage, ensuring your butterfly antenna remains both beautiful and functional.
Attaching Decorations Securely
Carefully slide each bead onto the wire, guaranteeing they fit snugly to prevent any movement that might compromise the antenna’s stability.
Utilize a pair of precision tweezers for accurate bead placement. If the bead aperture is too large, consider using a small drop of cyanoacrylate adhesive to secure it.
Observe the distribution of mass along the wire, as uniformity enhances aerodynamic efficiency and aesthetic symmetry.
For additional decorations, attach embellishments using a micro-dot applicator to dispense adhesive precisely. Allow sufficient curing time to guarantee robust adhesion. Evaluate the final structure under magnification to identify any weak points.
This meticulous approach will yield an antenna that’s both functional and visually appealing, meeting innovative design standards.
Secure the Ends
To secure the ends of the butterfly antenna, firmly twist the wire around itself to create a stable and durable loop. Confirm each twist is tight, minimizing any gaps to prevent unraveling. This ensures a strong hold that can withstand tension and environmental factors, keeping the antenna securely in place. Proper butterfly anchor installation further reinforces stability, reducing the risk of movement or detachment over time. Regularly inspect the twists and connections to maintain optimal performance and durability.
Utilize needle-nose pliers for precision, allowing you to maneuver the wire with control. Inspect the loop to verify it’s symmetrical, as asymmetry can compromise structural integrity.
Next, apply a small dab of industrial-strength adhesive to the twisted section. This enhances durability by reinforcing the mechanical bond.
Allow the adhesive to cure fully, typically within 24 hours, to guarantee maximum strength. Perform a gentle stress test by pulling slightly on the ends to validate the loop’s robustness.
Your antenna ends are now securely fastened, ready for the next phase.
Attach to Headband
With the ends securely fastened, align the twisted loops along the headband’s central axis to guarantee proper balance and stability. Position the loops equidistant from the center to assure symmetrical distribution.
Utilize a hot glue gun to apply a precise amount of adhesive to the base of each loop. Press firmly onto the headband, holding in place for 10-15 seconds to allow the glue to set.
For enhanced durability, consider supplementing with a few stitches using a needle and thread, focusing on the connection points. This dual-attachment method reinforces the structural integrity.
Carefully inspect the alignment and make any necessary adjustments to make sure the antenna stands upright and symmetrical. Your innovative butterfly antenna is now ready for the next customization steps.
Customize Your Antenna
Begin by selecting a variety of decorative elements, such as glitter, beads, or sequins, to enhance the visual appeal of your butterfly antenna.
Utilize precision tools to affix these elements securely. Apply a thin layer of adhesive to the antenna’s surface where each decoration will be placed.
Consider the spatial distribution of these embellishments to achieve a balanced and symmetrical design. Experiment with different textures and colors to create a visually stimulating pattern. Employ tweezers for accurate placement of smaller components.
Once positioned, allow the adhesive to cure fully, ensuring durability. This methodical customization process not only enhances the aesthetics but also contributes to the structural integrity of your butterfly antenna, embodying both form and function.
Final Touches and Adjustments
After confirming that your decorative elements are securely in place, focus on refining the shape and alignment of your butterfly antenna for best symmetry and functionality.
Begin by gently bending the wire to create a natural curvature, using a pair of precision pliers. Guarantee both antennas are of equal length and curvature for top balance.
| Adjustment Step | Tools Required | Observations |
|---|---|---|
| Shape Refinement | Precision Pliers | Curved, symmetrical |
| Length Check | Ruler or Measuring Tape | Equal lengths |
| Attachment Stability | Hot Glue Gun | Firm, secure |
| Decorative Check | Visual Inspection | Even distribution |
Perform a final inspection, verifying each adjustment maintains the antenna’s structural integrity and aesthetic appeal. This methodical approach ensures a professional, innovative finish.
Conclusion
You’ve crafted your butterfly antenna with precision and creativity. Just like a sculptor chisels fine details, you’ve shaped and adorned your wire with meticulous care. Now, securely attached to your headband, it’s ready for any event.
Double-check all ends are tightly fastened and make any final adjustments for comfort. Your antenna, as vibrant as a butterfly’s wings in sunlight, is now complete.
Enjoy the admiration and flutter with pride in your handcrafted creation.


