Make a Swallowtail Butterfly in 7 Simple Steps
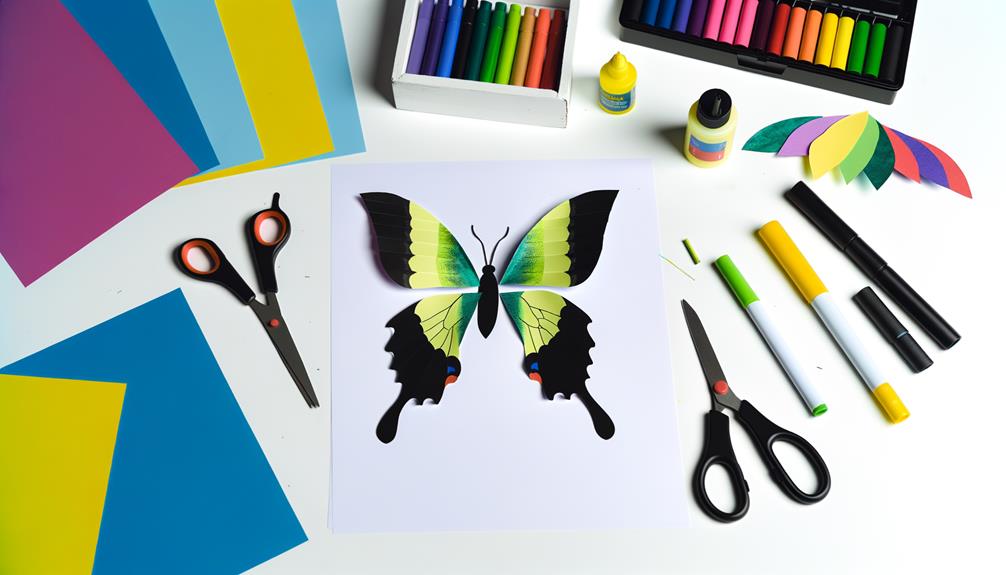
To create a realistic paper swallowtail butterfly, start with high-quality paper, such as Japanese washi, and gather precision cutting tools, fine-tipped pens, and vibrant pigments. Begin by sketching an accurate outline of the butterfly, paying particular attention to symmetry.
Carefully cut out the shapes, ensuring clean lines and consistent wing patterns. Assemble the body using a strong adhesive and reinforce with thin wire if necessary.
Attach the meticulously painted wings and crafted antennae, using minimal glue for a natural appearance. For lifelike detailing, apply layered color patterns and iridescent effects.
Explore further steps to perfect your butterfly model.
Key Takeaways
- Select high-quality, lightweight paper and vibrant pigments to create realistic wing patterns.
- Sketch symmetrical outlines of the swallowtail butterfly on paper, ensuring accurate proportions.
- Carefully cut out the wing shapes, maintaining symmetry and precision.
- Assemble the body using strong adhesive, reinforcing with thin wire for stability.
Materials Needed
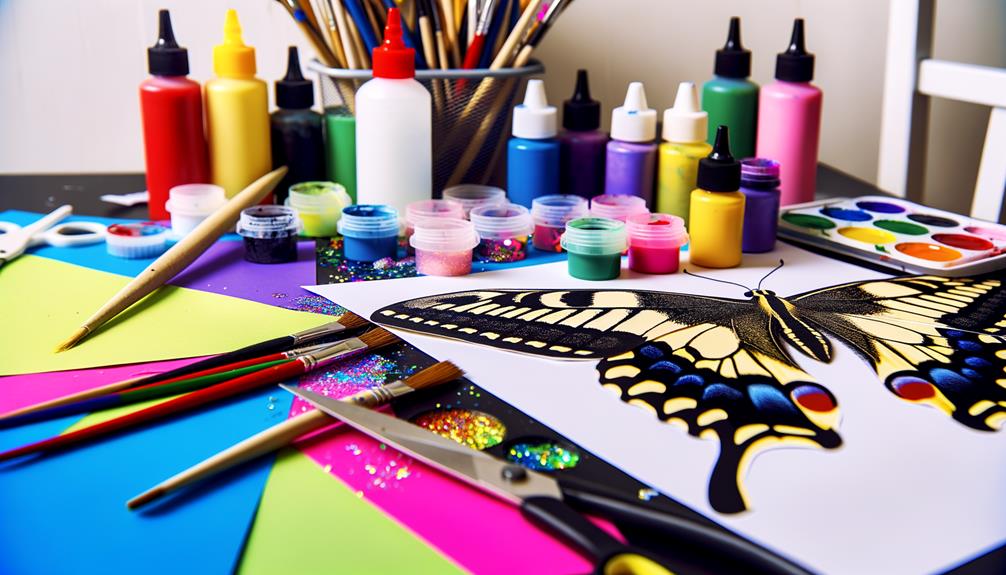
To successfully create a swallowtail butterfly, you will require a specific set of materials, including various crafting supplies and tools.
Essential items include high-quality paper or cardstock, a fine-tipped black pen for intricate detailing, and a pair of precision scissors for accurate cutting.
Additionally, you will need adhesive, such as a glue stick or double-sided tape, to assemble the components. A ruler and pencil are necessary for precise measurements and markings.
To add realistic texture, consider procuring colored pencils or markers. For enhanced three-dimensional effects, small paintbrushes and non-toxic paints may be employed.
Collecting these materials guarantees that you have the freedom to craft a swallowtail butterfly with accuracy, attention to detail, and artistic expression.
Choosing Your Colors
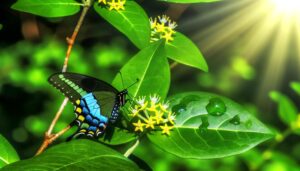
Selecting the appropriate colors for your swallowtail butterfly involves careful consideration of the color palette, ensuring it aligns with natural patterns observed in species such as Papilio machaon.
Accurate replication requires a keen eye for matching the intricate combinations of vibrant tones that define the swallowtail's distinctive appearance.
Color Palette Selection
When choosing the color palette for your Swallowtail butterfly project, it is crucial to contemplate both the natural hues of the species and the desired visual impact of your final piece.
Swallowtail butterflies exhibit a range of colors, including vibrant yellows, blues, and blacks. For an accurate representation, select pigments that closely mimic these shades.
Consider the interplay of light and shadow to enhance the dimensionality of your creation. Additionally, the freedom to innovate allows for artistic deviations—incorporating iridescent or metallic paints can add an ethereal quality.
Confirm your selection harmonizes with the overall aesthetic and context of your project. Precision in color choice is key to capturing the essence and beauty of the Swallowtail butterfly.
Matching Natural Patterns
Analyzing the intricate patterns found on Swallowtail butterflies is crucial for accurately capturing their natural beauty in your project.
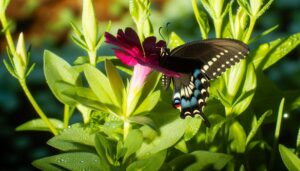
To replicate these patterns, observe the symmetry and repetition of lines, spots, and color gradations on the butterfly's wings. Pay close attention to the arrangement of black, yellow, and blue hues, as these are characteristic of many Swallowtail species.
Document the specific shapes and their placements; for instance, the black bands often form striking, almost geometric shapes against the yellow background.
Utilize high-resolution images or field observations to discern minute details such as the subtle iridescence and the gradation from one color to another.
This meticulous approach guarantees fidelity to nature while granting you the freedom to celebrate these magnificent creatures authentically.
Vibrant Tone Combinations
To achieve the vibrant tone combinations that mimic the natural allure of Swallowtail butterflies, one must meticulously choose pigments that accurately reflect their vivid black, yellow, and blue coloration.
Black, representing the foundational hue, should be a deep, rich pigment, free of gray undertones to guarantee maximum contrast.
Yellow should be a bright, almost lemon-like shade, capturing the butterfly's striking highlights.
For the blue, select a pigment that mirrors the iridescent quality seen in nature; ultramarine or cobalt blue are ideal choices.
Precision in color mixing is essential, as even slight deviations can alter the authenticity of the representation.
These colors, when applied with care, will yield a vibrant, lifelike depiction, enabling an artistic expression of freedom and natural beauty.
Sketching the Outline
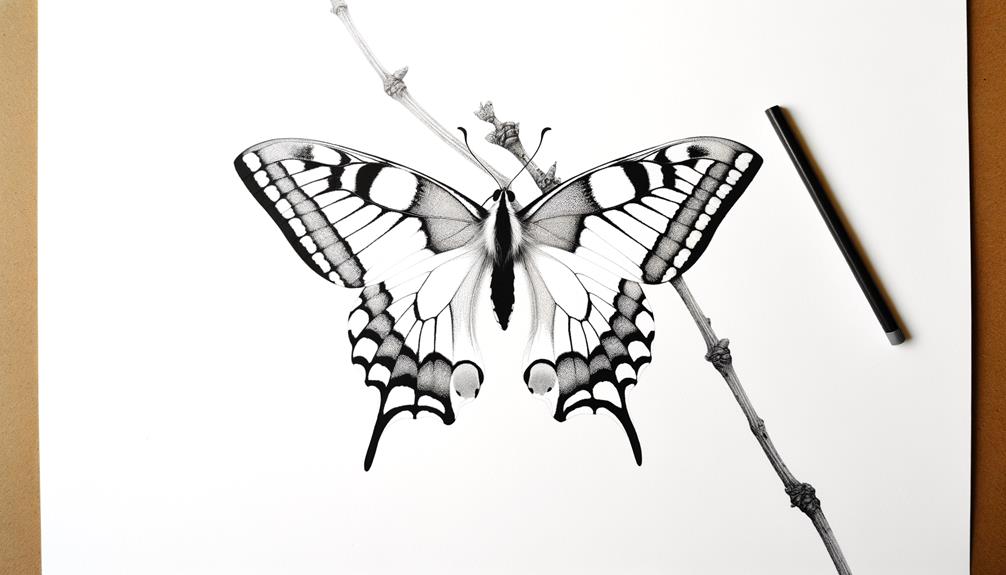
Beginning with a well-sharpened pencil and a clean sheet of paper, carefully outline the basic shape of the swallowtail butterfly, ensuring accurate proportions of its wings, body, and defining features. Focus on the delicate balance between the forewings and hindwings, as well as the butterfly’s characteristic tails. Maintain symmetry to capture the realistic essence of this species. Once the outline is complete, gradually add intricate details such as vein patterns on the wings and subtle textures on the body to enhance realism. Consider shading techniques to create depth and dimension, bringing the illustration to life. Observing the swallowtail butterfly life stages can also provide valuable insight into the unique transformations that influence its appearance and structure.
| Feature | Description | Importance |
|---|---|---|
| Forewings | Elongated, triangular shape | Aerodynamics, appearance |
| Hindwings | Rounded with tail extensions | Stability, species identity |
| Body | Segmented, slender | Support, anatomical accuracy |
Attention to detail is paramount; every line contributes to the butterfly's natural beauty. By adhering to these elements, you will lay a solid foundation for the subsequent steps in creating a lifelike swallowtail butterfly.
Cutting the Shapes
To accurately replicate a swallowtail butterfly, begin by selecting a high-quality, durable paper that can withstand intricate cuts.
Utilize precision cutting tools to meticulously follow the outlined wing patterns, guaranteeing each detail is captured accurately.
This meticulous approach guarantees the final butterfly model exhibits both structural integrity and aesthetic fidelity.
Choosing Paper Material
Selecting high-quality, lightweight paper is crucial for accurately cutting the intricate shapes required for a swallowtail butterfly. The ideal paper weight ranges from 60 to 80 grams per square meter (gsm), balancing strength and flexibility.
Acid-free, lignin-free paper guarantees longevity, preventing yellowing and deterioration over time. Opt for paper with a smooth, fine-grain texture to facilitate precise cutting and detailed folds.
Avoid heavy cardstock, which can hinder the delicate shaping process, and tissue paper, which lacks structural integrity. Experiment with Japanese washi or mulberry paper, known for its durability and ease of manipulation.
Selecting the appropriate paper material not only enhances the final aesthetic but also empowers the creator with the freedom to execute intricate designs with precision.
Cutting Wing Patterns
Carefully tracing and cutting the wing patterns is essential for achieving the delicate and intricate shapes characteristic of a swallowtail butterfly.
Utilize a fine-tipped pencil to outline the wing templates on your chosen paper material. Precision is paramount; make sure that the lines are smooth and continuous to facilitate accurate cutting.
Employ a pair of fine-detail scissors or a precision craft knife to meticulously follow the traced lines. For best results, maintain a steady hand and apply consistent pressure to avoid any unintended deviations.
The symmetry of the wings is vital, so periodically check that both sides align perfectly.
This methodical approach guarantees that the final wing structures exhibit the elegance and grace inherent to the swallowtail butterfly.
Assembling the Body
Begin by attaching the thorax to the abdomen using a strong adhesive to guarantee structural integrity.
Confirm the adhesive is evenly applied to prevent any imbalance. Position the thorax and abdomen in alignment, pressing them together firmly until the adhesive sets.
Next, insert small, pre-cut pins through the joint for added support. These pins should be precisely positioned to confirm stability without compromising the natural curvature of the body.
Once the adhesive has fully cured, examine the joined sections for any gaps or misalignments, which could weaken the structure. If necessary, apply additional adhesive or pins to rectify any issues.
This meticulous assembly is essential for the butterfly's overall balance and movement, laying a solid foundation for subsequent steps.
Creating the Wings
To create the wings, start by tracing the wing patterns onto a lightweight, durable material such as rice paper or thin plastic sheeting, ensuring that the dimensions and shapes are anatomically accurate for a swallowtail butterfly. Precision in replicating the natural curvature and proportions is essential.
- Cutting the Material: Use fine-tipped scissors to meticulously cut along the traced lines, preserving delicate edges.
- Reinforcing Structures: Employ thin wire along the leading edges to provide stability while maintaining flexibility.
- Attaching to Body: Carefully attach the wings to the butterfly body using a non-toxic adhesive, ensuring symmetrical placement.
Adding Wing Patterns
With the wings now securely attached to the body, the next step involves meticulously replicating the intricate patterns characteristic of swallowtail butterflies to achieve a lifelike appearance.
Begin by observing high-resolution images or field guides to accurately identify the specific colorations and markings. Use fine-tipped brushes for detailed work and acrylic or watercolor paints, guaranteeing the hues match the natural palette.
Start with the base color and layer progressively with finer details, such as spots and stripes. Pay special attention to symmetry and gradient shifts between colors.
Allow each layer to dry completely before proceeding with the next, assuring a crisp, clean finish. This precision guarantees the butterfly's authenticity, embodying both scientific accuracy and artistic freedom.
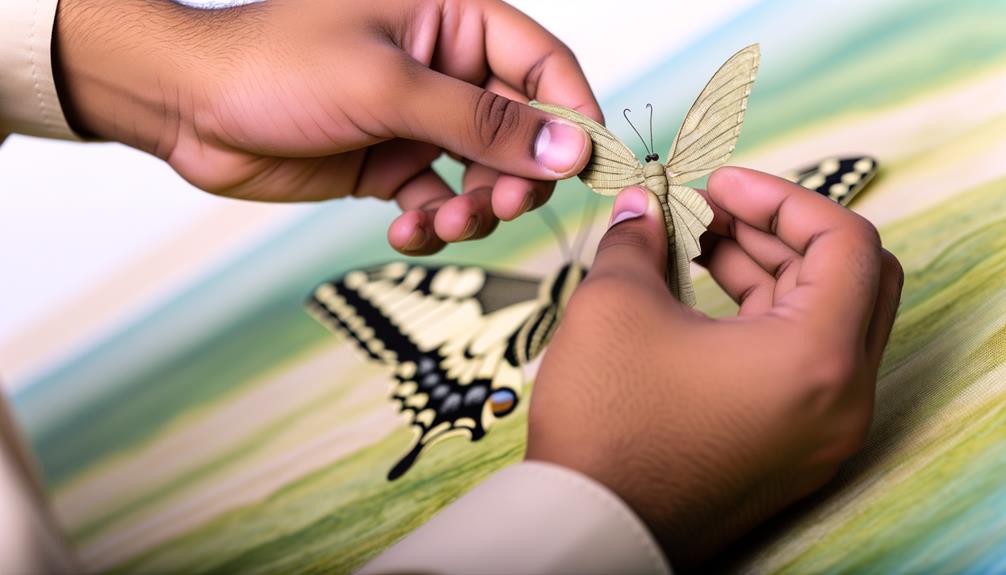
Attaching the Wings
Securing the wings to the body requires precise alignment and a strong adhesive to guarantee stability and lifelike movement.
Begin by verifying the body is prepared with small indentations where the wings will attach. This step enhances the bond and mimics natural wing articulation.
Follow these steps:
- Alignment Check: Place the wings without adhesive to confirm correct positioning.
- Adhesive Application: Use a fine-tip applicator to apply a minimal amount of strong, clear-drying adhesive to each indentation.
- Attachment Process: Press the wings firmly into place, maintaining pressure for several minutes to verify a secure bond.
Careful execution of these steps guarantees the wings are attached with both accuracy and durability, allowing for a realistic and elegant final product.
Detailing the Antennae
After successfully attaching the wings, attention must now be directed towards crafting and detailing the antennae to enhance the butterfly's overall realism. The antennae are essential sensory organs, playing a significant role in the butterfly's navigation and detecting chemical signals. To achieve an accurate portrayal, use fine wire or thin plastic rods, bending them gently to mimic the natural curvature. Paint the antennae black and add a small bead at the tip to replicate the clubbed ends characteristic of Swallowtails.
| Material | Tool | Process |
|---|---|---|
| Fine Wire | Needle-nose Pliers | Bend to shape |
| Thin Plastic Rods | Craft Knife | Cut to desired length |
| Black Paint | Fine Brush | Apply evenly |
| Small Bead | Glue | Attach to tip |
| Precision Scales | Calipers | Verify uniform length and thickness |
Verify each step is executed with precision to capture the delicate intricacies of the antennae.
Final Touches
To complete the creation of a Swallowtail Butterfly, meticulous attention must be given to adding color details and finishing wing patterns.
This involves carefully applying pigments to replicate the distinctive hues and intricate designs characteristic of the species.
Ensuring accuracy in these final touches is essential for achieving a lifelike representation.
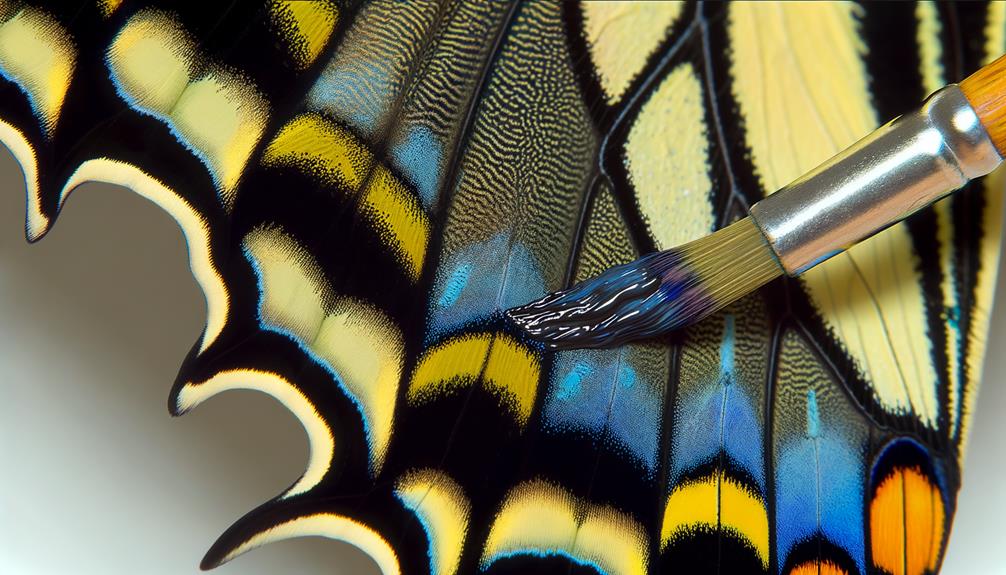
Adding Color Details
The final stage in creating a realistic swallowtail butterfly involves meticulously applying the intricate color patterns that define this species. This step is paramount, as the vibrancy and detail of the colors are essential for an authentic representation.
Follow these guidelines:
- Base Color Application: Begin with a uniform application of the primary colors found on the butterfly's wings, ensuring smooth and even coverage.
- Secondary Patterning: Add the secondary colors and patterns, such as the distinctive yellow and black stripes, using precise, controlled strokes.
- Detail Enhancement: Finally, incorporate the minute details like the blue and red spots, enhancing the overall realism by blending and shading as needed.
Finishing Wing Patterns
With the primary and secondary colors applied, the final touches involve refining the wing patterns to achieve a lifelike representation of the swallowtail butterfly.
Begin by meticulously outlining the edges of the patterns with a fine-tipped brush, ensuring crisp demarcations.
Enhance the intricate details by adding subtle gradients and highlights, using a slightly diluted pigment to mimic natural light effects.
Pay close attention to symmetry, as the bilateral patterns are essential for authenticity.
Incorporate minute details such as scales and vein-like structures with precision, employing a magnifying tool if necessary.
For an added layer of realism, consider lightly dusting the painted surface with a fine iridescent powder, replicating the natural shimmer of butterfly wings.
Conclusion
Crafting a swallowtail butterfly, from selecting vibrant colors to detailing intricate wing patterns, is akin to painting a masterpiece on nature's canvas.
Each step, meticulously executed, transforms simple materials into a lifelike representation.
Through careful assembly and precise detailing, the final creation not only captures the essence of the swallowtail but also serves as a demonstration to the beauty of systematic craftsmanship.
This process underscores the harmonious blend of art and science, culminating in a visually enchanting and structurally sound model.