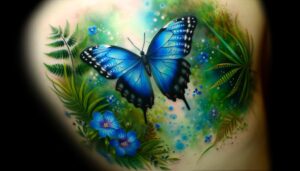
Crafting a Blue Morpho Butterfly in 10 Simple Steps
To create a lifelike model of a Blue Morpho butterfly, begin by gathering high-quality materials such as iridescent blue paper, precision scissors, and archival adhesive. Sketch anatomically accurate wing shapes, ensuring symmetry and including detailed vein patterns.
Carefully cut out these shapes, then apply a base coat of iridescent blue paint followed by layers of high-quality acrylic for added depth. Assemble the butterfly by meticulously attaching wings to an accurately proportioned body.
Final touches involve precision adjustments and the addition of realistic details, emphasizing accuracy and authenticity. This method results in a stunning representation of this beautiful species.

Key Takeaways
- Gather blue iridescent paper, precision scissors, archival-quality adhesive, and a detailed template for lifelike accuracy.
- Sketch the wings' shape and vein details, ensuring symmetry and anatomical accuracy.
- Cut out the traced shapes using sharp scissors or a craft knife for clean, precise edges.
- Apply iridescent blue paint, building up layers for depth and ensuring even coverage without streaks.
Gather Your Materials
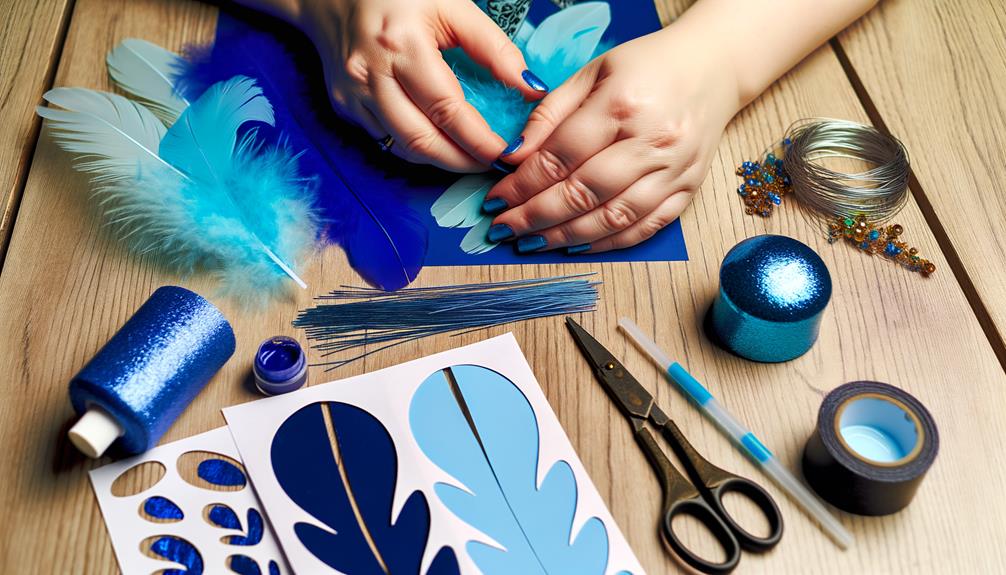
To begin the process of creating a Blue Morpho butterfly, you must first gather essential materials, including blue iridescent paper, a pair of precision scissors, adhesive, and a detailed template of the butterfly's wings.
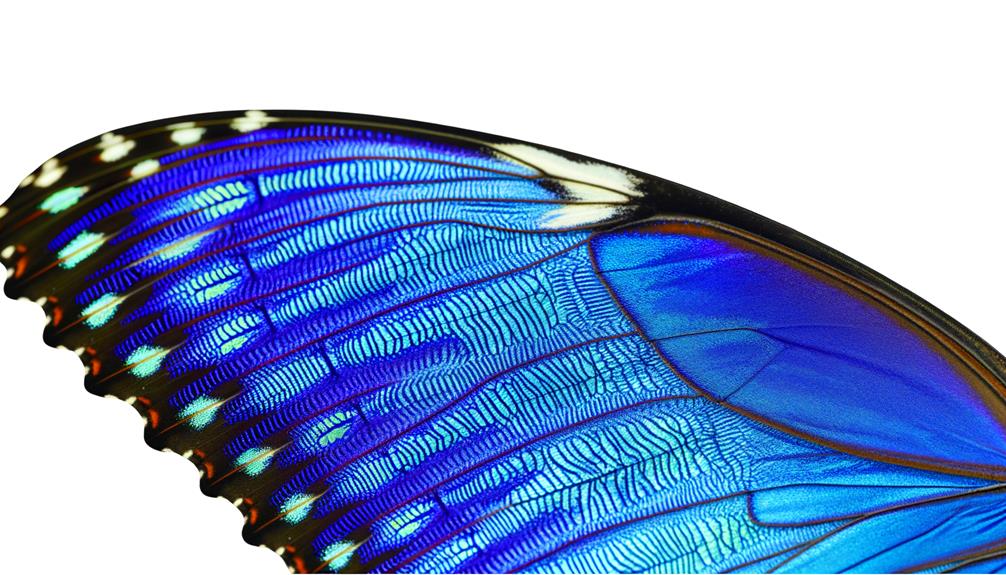
The blue iridescent paper mimics the Blue Morpho's distinctive reflective scales, fundamental for achieving an authentic appearance.
Precision scissors guarantee clean, accurate cuts, critical for maintaining the intricate details of the butterfly's wings.
Adhesive, preferably an archival-quality glue, guarantees longevity and durability of the final model.
The detailed template serves as a guide, offering exact dimensions and patterns necessary for replicating the butterfly's unique wing structure.
Meticulous acquisition of these materials lays the foundation for a powerful, lifelike representation of the Blue Morpho butterfly.
Sketch the Butterfly
To begin sketching the Blue Morpho Butterfly, start by outlining the distinct wing shape, which includes both the forewings and hindwings with their characteristic curves and edges.
Next, incorporate the vein details to accurately represent the butterfly's intricate wing structure. This step is essential for achieving a realistic and biologically accurate depiction.
Outline Wing Shape
Initiate the sketch by precisely delineating the upper and lower wing outlines, guaranteeing the accurate proportions and curvature characteristic of the Blue Morpho butterfly.
Begin with the forewings, noting their broad, somewhat triangular shape with slightly rounded edges. Shift smoothly to the hindwings, which are more rounded and possess a gentle scalloped pattern along the margins.
Maintain symmetry by consistently measuring and comparing both sides of the butterfly. Employ light, controlled pencil strokes to facilitate adjustments.
Pay particular attention to the wing junction at the thorax for anatomical accuracy.
This meticulous approach guarantees the foundational wing structures are correctly captured, setting the stage for subsequent detailing phases.
Precision in this step is paramount to achieving a lifelike representation.
Add Vein Details
Regularly focusing on symmetry, begin the intricate process of sketching the network of veins, ensuring each vein is meticulously placed to mirror the natural pattern observed in the Blue Morpho butterfly.
Start by delineating the primary veins radiating from the central wing structure towards the edges. These major veins will serve as the framework upon which the finer, secondary veins will branch out, creating a detailed and realistic representation.
Utilize precise measurements to maintain the proportionality of the vein branches, ensuring each segment reflects the butterfly's natural geometry.
Pay close attention to the intersections and bifurcations of veins, capturing the complexity of their natural arrangement. This attention to detail is critical for achieving an accurate and lifelike depiction of the Blue Morpho butterfly's wings.
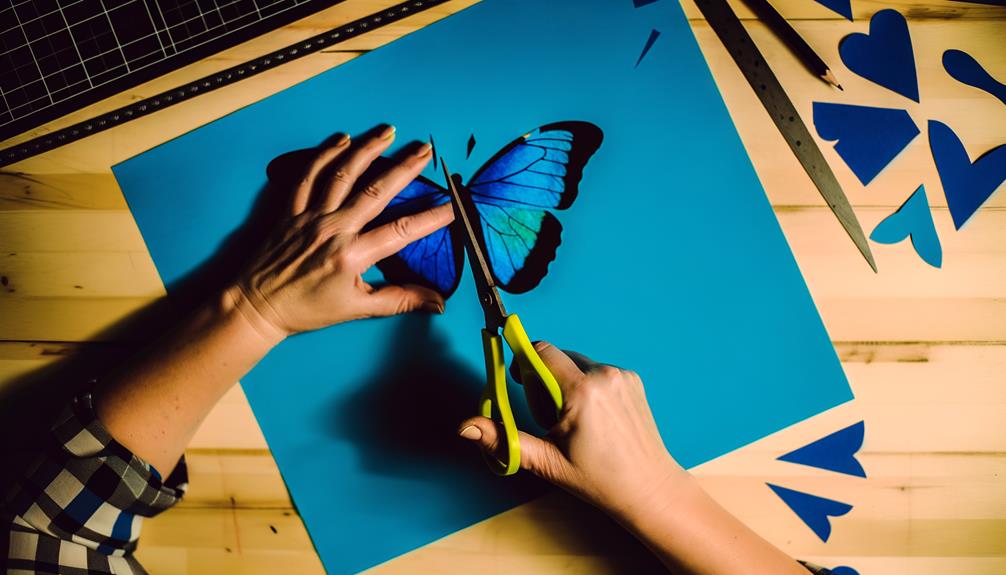
Cut Out the Shapes
To proceed with cutting out the shapes, first gather all necessary materials including scissors, tracing paper, and a cutting mat to guarantee precision and safety.
Next, trace the sketched butterfly patterns onto the tracing paper, confirming accuracy in the outlines.
Gather Necessary Materials
Begin by assembling all required materials, including blue construction paper, scissors, a pencil, a ruler, and a template of a blue morpho butterfly.
The blue construction paper will serve as the primary medium, ensuring the vibrant coloration that mimics the natural iridescence of the blue morpho.
Precision scissors are vital for achieving clean cuts, while a sharp pencil aids in meticulous tracing.
A ruler is indispensable for ensuring that all dimensions adhere to the specified proportions of the butterfly template.
The template itself should be scientifically accurate, capturing the intricate wing patterns and structural integrity characteristic of a blue morpho butterfly.
Collecting these materials is a foundational step, essential for the subsequent stages of creating an authentic and compelling replica.
Trace and Cut Patterns
With all materials gathered, the next step involves methodically tracing the butterfly template onto the blue construction paper, ensuring exact replication of the intricate wing patterns and structural details.
Utilize a fine-tipped pencil for precise lines, maintaining consistency in the curvature and symmetry of the wings.
Following the tracing, employ sharp, precision scissors to cut along the delineated edges with exactitude, preserving the integrity of the contours.
For a more refined finish, consider using a craft knife for intricate sections, ensuring a clean cut without fraying the paper.
This process demands meticulous attention to detail, as the accuracy of the cut shapes considerably impacts the fidelity of the final Blue Morpho butterfly replica.
Paint the Wings
Carefully apply a base coat of iridescent blue paint to the wings, ensuring an even, smooth coverage to mimic the natural sheen of the Blue Morpho butterfly.
Begin by selecting a high-quality, iridescent blue acrylic paint to achieve the desired luminescence.
Use a fine, soft-bristled brush to apply the paint in long, consistent strokes, following the natural curvature of the wing outlines.
Allow the initial layer to dry completely before applying additional coats, which will enhance the depth and vibrancy of the coloration.
Pay close attention to the edges and corners, ensuring there are no visible streaks or blotches.
This meticulous approach will lay the foundation for a realistic representation, emphasizing the butterfly's striking, reflective qualities.
Add Iridescent Details
Incorporating iridescent details requires a meticulous application of fine, shimmering pigments to accentuate the natural highlights and depth found in the Blue Morpho butterfly's wings.
This process involves an understanding of light refraction and the specific layering of pigments to mimic the butterfly's unique iridescence.
To achieve this, follow these steps:
- Select Pigments: Choose high-quality, iridescent pigments that reflect light similarly to the Blue Morpho's wings.
- Apply Base Layer: Begin with a thin, even base of pigment to guarantee uniformity.
- Layering Technique: Gradually build up layers, allowing each to dry before adding the next, to create depth.
- Final Touches: Use fine brushes to add minute details, capturing the intricate patterns and natural light play of the wings.
This method guarantees a realistic and powerful representation of the Blue Morpho butterfly.
Assemble the Butterfly
To assemble the butterfly, precisely align the wings and body components to guarantee anatomical accuracy and structural integrity.
Begin by ensuring that the dorsal and ventral surfaces of the wings correspond accurately to the body's thoracic region.
Utilize high-precision instruments to connect the anterior and posterior wing pairs to the mesothorax and metathorax, respectively.
Employ a micro-scalpel for delicate adjustments, ensuring the wing veins align with the body's musculature for ideal realism and functionality.
Secure connections with a minute amount of non-reactive adhesive to maintain articulation and prevent degradation.
Verifying the symmetrical positioning of the wings is essential to mimic natural flight dynamics.
Confirm all structural elements are firmly affixed to withstand both display and moderate handling pressures.
Create the Body
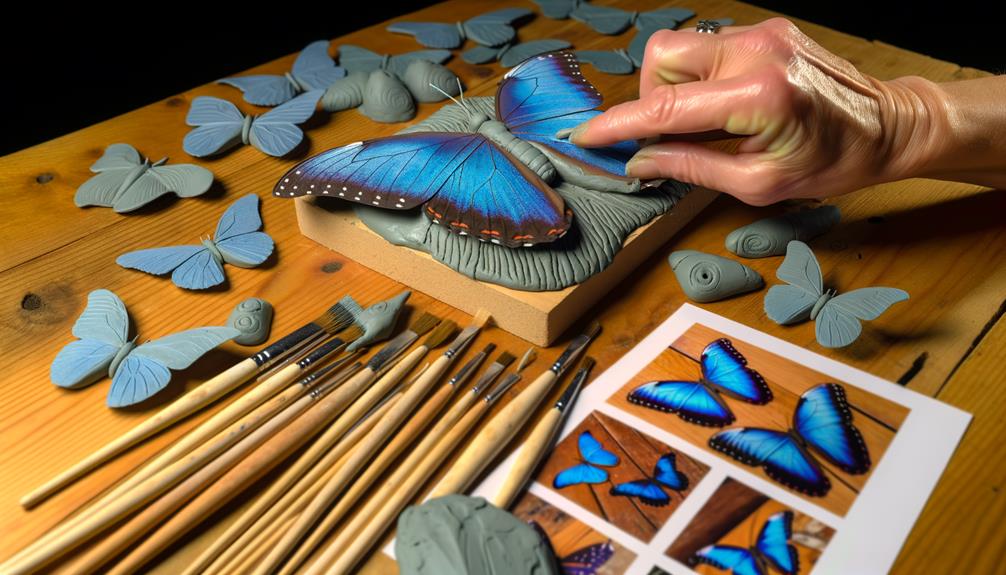
Commencing the creation of the Blue Morpho butterfly's body, one must first sculpt the abdomen, thorax, and head from polymer clay, ensuring anatomical precision and proportional accuracy. This process requires meticulous attention to detail to replicate the butterfly's distinctive morphology.
Key steps include:
- Sculpting the Abdomen: Form a tapered cylinder, ensuring it narrows towards the end, mimicking the natural taper of the butterfly.
- Crafting the Thorax: Shape a robust, slightly rounded segment positioned centrally, maintaining a smooth progression between the abdomen and head.
- Molding the Head: Create a small, spherical structure with a slight indentation for the eyes.
- Detailing: Employ fine tools to carve intricate features such as antennae bases and segmentation lines, enhancing realism and anatomical fidelity.
Attach the Wings
Positioning the wings accurately requires affirming their symmetrical alignment with the thorax to maintain the butterfly's natural posture.
Begin by carefully examining the dorsal and ventral surfaces of the wings to identify the anterior and posterior margins.
Using a precision adhesive, apply a minimal amount to the juncture where the wings meet the thorax, ensuring no excess adhesive disrupts the wing structure.
Hold the wings in place with fine-tipped forceps, maintaining pressure for approximately 30 seconds to allow secure bonding.
Verify the alignment from multiple angles, ensuring both wings are level and equidistant from the thorax.
This meticulous process ensures the Blue Morpho Butterfly exhibits not only aesthetic beauty but also anatomical accuracy. This level of precision captures even the smallest details, from the delicate wing structure to the subtle texture variations. Artists and biologists collaborate to ensure that factors like coloration, symmetry, and even the blue morpho butterfly weight are represented as accurately as possible. The result is a stunning depiction that reflects both the artistry and scientific integrity of this remarkable species.
Final Touches and Display
Guaranteeing the Blue Morpho Butterfly's final presentation is both accurate and visually enchanting requires a meticulous approach to the finishing touches and display. To achieve a professional-grade exhibit, follow these essential steps:
- Touch-Up Paint: Examine the wings for any imperfections and apply detailed paint corrections using fine brushes to guarantee uniform coloration and iridescence.
- Wing Positioning: Secure the wings in a natural, lifelike pose, employing micro-adjustments to reflect authentic butterfly posture.
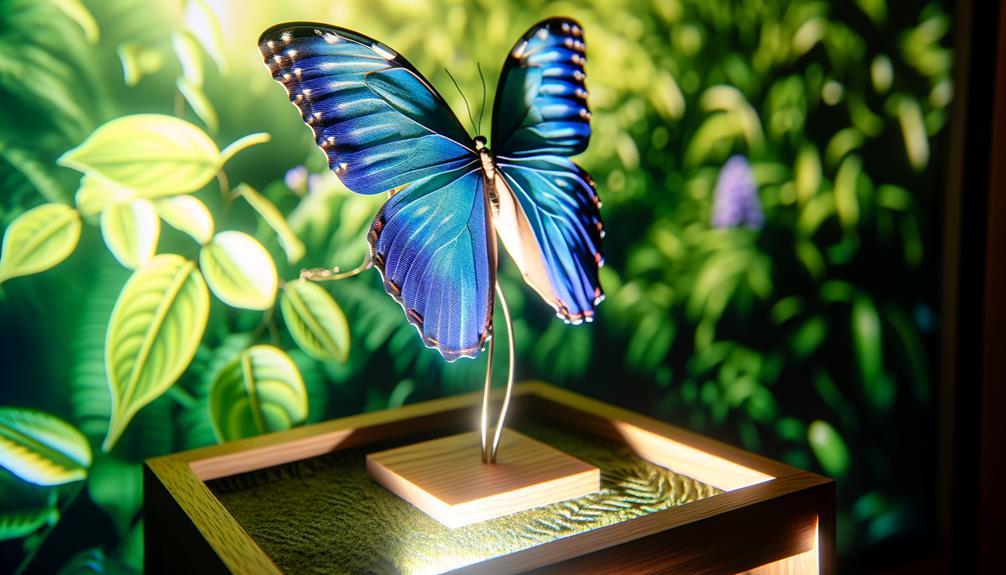
- Mounting: Utilize a transparent, UV-resistant display case to protect the specimen from environmental factors while maintaining visual clarity.
- Labeling: Create an informative label detailing the species name, habitat, and unique characteristics, using high-quality materials to convey professionalism.
These steps guarantee the butterfly's display is both scientifically accurate and aesthetically pleasing.
Conclusion
In the meticulous assembly of a blue morpho butterfly, each step functions as a cog in a well-oiled machine.
From the precise sketching of the wings to the delicate addition of iridescent details, the process demands both artistic skill and scientific precision.
When the final touches are made and the butterfly is ready for display, it stands as a demonstration to the harmonious blend of art and science, akin to a symphony where each instrument plays its part to create a masterpiece.