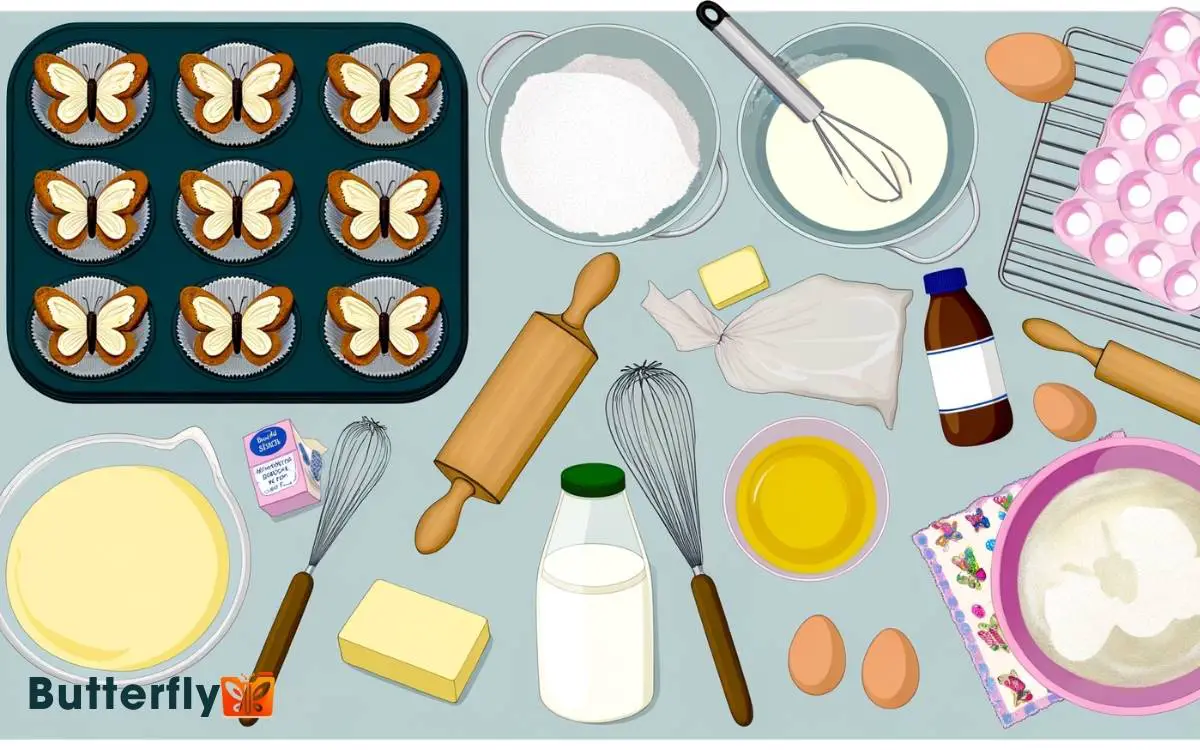
How Do You Make Butterfly Cakes? Step-by-Step Recipe!
To create butterfly cakes, begin by gathering self-raising flour, sugar, butter, fresh eggs, and vanilla extract. Cream the butter and sugar until pale, then gradually incorporate the eggs. Gently fold in sifted flour and vanilla to maintain a light texture.
Preheat your oven to 350°F and line a muffin tin. Fill liners two-thirds full and bake for 18-20 minutes. Cool the cakes, then slice off the tops, splitting them for wings.
Position these on frosting for the butterfly shape, using a piping bag for intricate details. Follow these precise steps for professional results, and discover how to perfect each stage further.

Key Takeaways
Gather Your Ingredients
First, make sure you have all the essential ingredients for making butterfly cakes, including self-raising flour, sugar, butter, eggs, and vanilla extract. You’ll also need a little milk to achieve the perfect batter consistency. Once the cupcakes are baked and cooled, carefully cut out the tops to create the signature butterfly shape. If you’re looking for a creative gift idea, you might also enjoy a butterfly money leis tutorial to complement your homemade treats.
Precision in ingredient selection guarantees the best texture and flavor. Opt for unsalted butter to control sodium content, and fresh, free-range eggs for enhanced richness. For sugar, use fine granulated to ensure a smooth consistency in your batter.
The self-raising flour should be sifted to aerate, promoting a light, airy cake structure. Vanilla extract should be pure, not imitation, to deliver authentic flavor profiles.
These ingredients form the fundamental matrix of your butterfly cakes, setting the stage for a perfect bake. Always measure accurately, as precision is crucial in achieving consistent, innovative culinary results.
Prepare the Batter
To begin, cream the butter and sugar together in a mixing bowl until the mixture is pale and fluffy, guaranteeing even aeration for optimal cake texture.
Next, gradually add the eggs, one at a time, incorporating each fully before adding the next to prevent curdling.
Sift in the self-raising flour and fold it gently into the mixture using a spatula, preserving the lightness of the batter. Integrate a splash of vanilla extract for enhanced flavor.
Precision is crucial; overmixing can lead to dense cakes. Scrape down the sides of the bowl periodically to ensure uniform consistency.
Your batter should be smooth and homogenous, ready for the next phase. This meticulous preparation sets the stage for perfectly risen butterfly cakes.
Bake the Cupcakes
Preheat your oven to 350°F (175°C) and line a muffin tin with paper cupcake liners to guarantee even baking and easy removal.
Distribute the batter evenly among the liners, filling each about two-thirds full to allow for proper expansion. Place the tin in the center of the oven to secure uniform heat distribution.
| Step | Description |
|---|---|
| 1 | Preheat oven to 350°F (175°C) |
| 2 | Line muffin tin with liners |
| 3 | Fill liners two-thirds full |
| 4 | Place tin in oven center |
| 5 | Bake for 18-20 minutes |
Bake for 18-20 minutes, monitoring for a golden top and a clean toothpick test. Remove and let cool in the tin for 5 minutes before transferring to a wire rack.
Shape the Wings
Once your cupcakes have cooled completely, carefully slice off the tops to create the butterfly wings. Use a serrated knife for precision. Aim to make a horizontal cut about one-third down from the top.
After removing the tops, cut them in half to form symmetrical wing pairs. Maintain consistency for a professional finish.
Here’s a quick checklist to streamline the process:
- Use a serrated knife: Guarantees clean, precise cuts.
- Make horizontal cuts: Strive for consistent thickness.
- Cut tops in half: Create symmetrical wing pairs.
- Check uniformity: Ensure consistency across all cupcakes.
- Handle gently: Prevents breakage and maintains shape.
Assemble and Decorate
With your wings prepared, position them atop each cupcake to form the butterfly shape, making sure they’re symmetrical and balanced. Utilize precision tools like tweezers for meticulous placement.
Once positioned, apply a small amount of buttercream or desired frosting to secure the wings. This adhesive will guarantee structural integrity during presentation.
Next, employ a piping bag fitted with a fine nozzle to add intricate decorative details, such as antennae and body segments. Opt for contrasting colors to enhance visual appeal. For an innovative touch, consider edible glitter or metallic food paint to accentuate the wings’ edges.
Finish by placing a small edible pearl or sugar flower at the center to simulate the butterfly’s body, ensuring each element is flawlessly aligned.
Conclusion
Don’t worry if you think shaping the wings sounds too challenging—it’s simpler than it looks. With practice, you’ll quickly master it.
By following these precise steps, you’ve created delectable butterfly cakes that are both visually stunning and delicious. Enjoy the satisfaction of presenting these elegant treats, knowing you’ve utilized professional techniques to achieve bakery-quality results.
Now, go ahead and impress your guests with your newfound pastry skills, demonstrating your culinary prowess with every bite.


