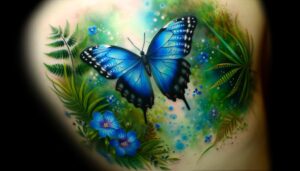
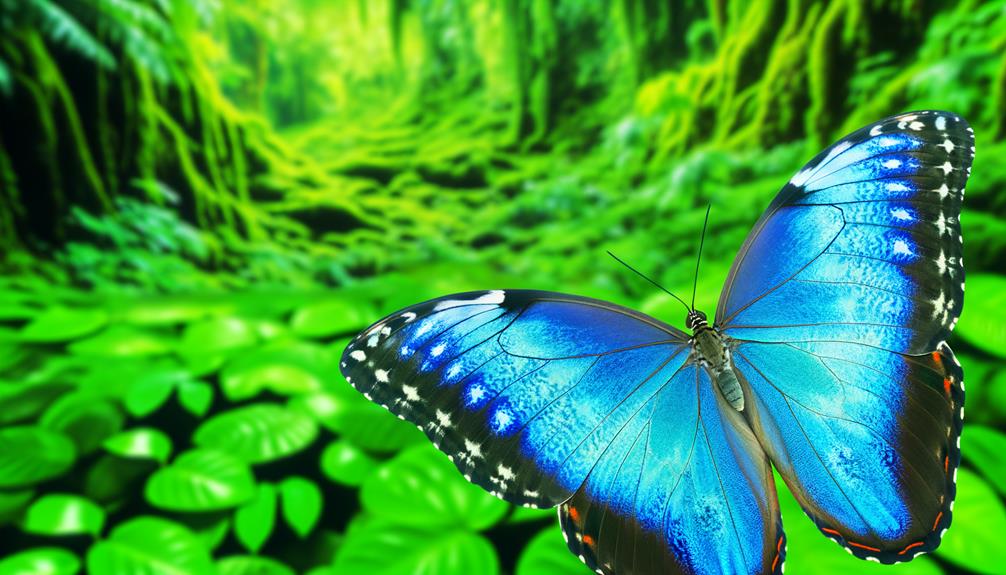
7 Steps to Draw a Stunning Blue Morpho Butterfly
To accurately draw a Blue Morpho Butterfly, start by assembling high-quality materials: acid-free paper, a range of graphite pencils, colored pencils in varying shades of blue, and a fine-tipped black pen. Begin with a light sketch of an oval body centered on the paper.
Draw symmetrical wings using a ruler for precision, ensuring the upper wings are larger. Add detailed venation and scalloped wing margins, and incorporate eye spots near the lower wings.
Apply layers of rich azure blue, blending for iridescence and adding white highlights. Precision is key for an authentic depiction, with further techniques enhancing the final result.
Key Takeaways
- Lightly sketch a central oval for the butterfly's body and use a vertical guideline for symmetry.
- Outline large symmetrical wing shapes, with upper wings larger and more rounded than lower wings.
- Draw intricate venation patterns and scalloped wing edges, ensuring details are mirrored on both sides.
- Apply a base layer of azure blue, then use varying shades to create realistic iridescence.
Gather Your Materials
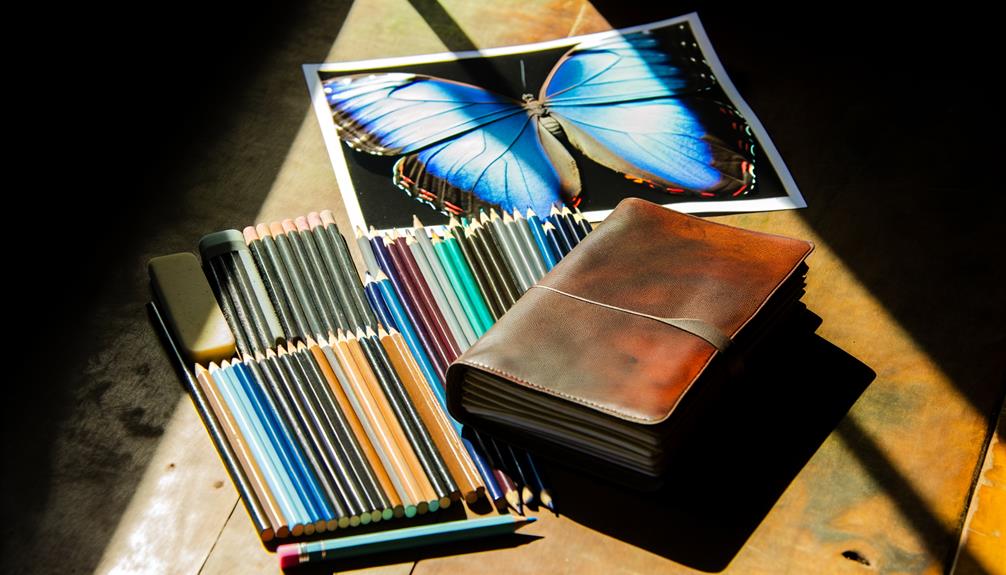
To begin your drawing of a Blue Morpho Butterfly, gather all necessary materials, including high-quality drawing paper, a range of graphite pencils, colored pencils or markers in various shades of blue, a fine-tipped black pen, an eraser, and a ruler.
Make certain your drawing paper is acid-free to prevent yellowing over time. Select graphite pencils ranging from 2H to 6B to achieve a spectrum of tonal values.
Colored pencils or markers should include ultramarine, cerulean, and cyan for capturing the butterfly's iridescent wings. A fine-tipped black pen is essential for detailing.
The eraser should be kneaded to allow precision in corrections. Finally, a ruler will assist in maintaining symmetry and proportion.
Assemble these tools to guarantee a successful and detailed illustration.
Sketch the Basic Shape
Begin by lightly sketching an oval shape for the Blue Morpho Butterfly's body, making certain it is proportionate to the desired size of the wings.
Position this oval centrally on your canvas to allow for balanced wing placement. The oval should be slightly elongated to reflect the butterfly's natural body structure.
Next, mark the top and bottom points of the body, as these will serve as essential reference points for wing attachment.
Consider using a ruler to guarantee symmetry and precision.
To maintain anatomical accuracy, draw a vertical guideline through the center of the oval. This will aid in aligning the wings later.
These initial sketches form the fundamental framework upon which the detailed elements will be built.
Define the Wing Structure
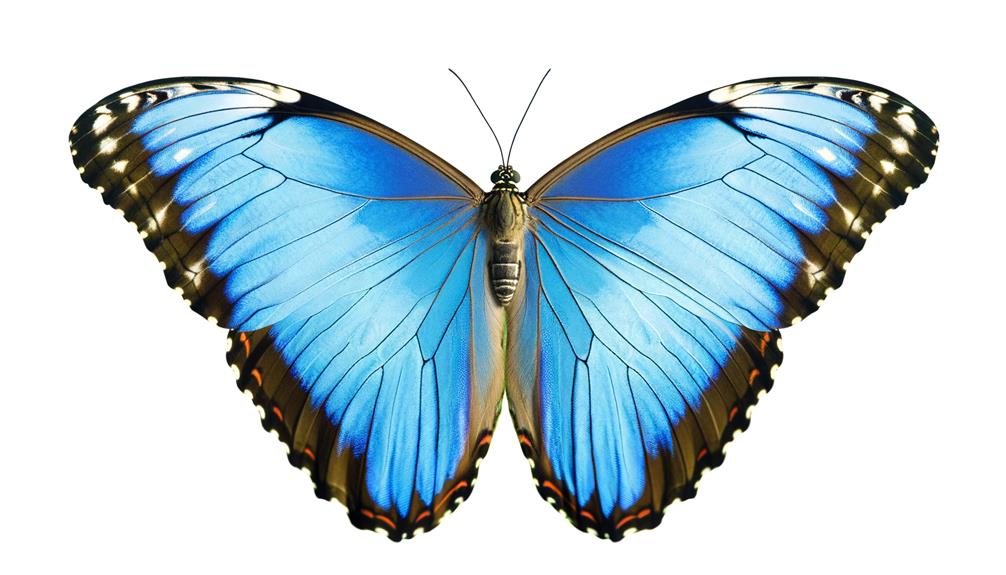
With the basic shape in place, meticulously outline the primary structure of the wings by sketching two large, symmetrical shapes extending from the top and bottom points of the body. Each wing should be drawn with precision, ensuring that the upper wings are slightly larger and more rounded than the lower wings, which taper to a subtle point. This symmetrical arrangement is essential for achieving a realistic depiction of the Blue Morpho Butterfly.
| Wing Part | Shape Characteristics | Position on Body |
|---|---|---|
| Upper Wings | Rounded, Larger | Top |
| Lower Wings | Tapered, Smaller | Bottom |
| Symmetry Focus | Mirrored Design | Both Sides |
Detailed attention to these structural elements will lay a strong foundation for the intricate patterns to follow.
Add Intricate Patterns
Having established the fundamental wing structure, focus now on incorporating the intricate patterns that define the Blue Morpho Butterfly's exquisite appearance.
Begin by delineating the venation system, consisting of fine lines radiating from the center of the wings outward.
Next, add the characteristic scalloped edges along the wing margins, ensuring symmetry and balance.
Carefully sketch the subtle, iridescent spots that punctuate the wings, maintaining proportionality to the overall wing span.
Utilize fine-tipped drawing tools to achieve precision in these delicate details.
Pay close attention to the distinctive eye spots near the lower wing edges, as they are essential for authenticity.
This meticulous attention to detail is paramount in capturing the true essence of the Blue Morpho Butterfly's enchanting design.
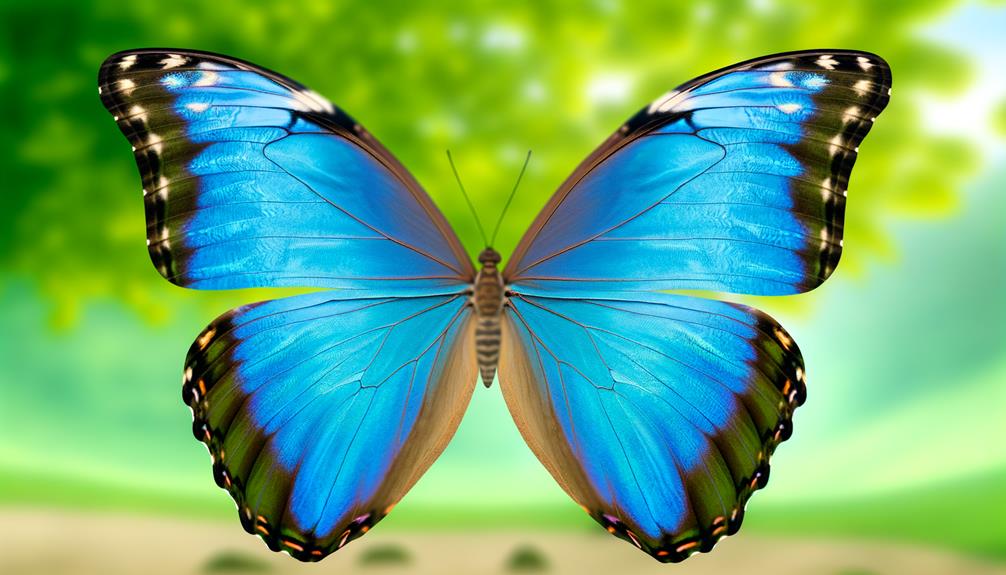
Color the Butterfly
To accurately replicate the vivid hues of the Blue Morpho Butterfly, start by applying a base layer of a rich, azure blue across the entire wing surface. Utilize a high-quality, soft brush to guarantee even coverage and smooth gradients. Focus on achieving a luminous effect by layering lighter and darker shades of blue to mimic the butterfly's iridescence.
| Color Layer | Technique |
|---|---|
| Base Azure Blue | Even coverage |
| Lighter Blue | Soft blending |
| Darker Blue | Gradient shading |
| White Highlights | Fine detailing |
Incorporate white highlights along the wing edges and near the central veins to create a realistic sense of depth and light reflection. Precision and controlled brush strokes are paramount for an authentic representation.
Conclusion
Upon completing the intricate process of drawing a Blue Morpho butterfly, the final step remains: adding color. This stage is where the artwork truly comes to life, as vibrant shades of blue blend seamlessly across the wings. Crafting a Blue Morpho butterfly requires careful attention to light and shadow, ensuring a realistic shimmer that mimics its natural iridescence. With each delicate stroke, the masterpiece transforms into a vivid representation of this stunning creature.
This phase transforms a meticulously sketched outline into a vibrant, lifelike representation. As the cerulean hues are applied with precision, a sense of anticipation builds.
Will the butterfly's wings capture the iridescent beauty found in nature? The moment of revelation arrives as the last stroke is made, leaving an awe-inspiring depiction that mirrors the magnificence of the Blue Morpho.